Since the new rewrite also changes the API fields and url, you will need to migrate legacy API to new API.
Legacy API will be deprecated on 1 January 2023.
| Legacy API | New API |
|---|---|
| https://md.fonnte.com/api/send_message.php | https://api.fonnte.com/send |
| field phone and text | moved to target and message |
| require several fields to run | only target field is required |
| require the right field type | no field type |
| type text using text field & tipe image/file/audio/video using caption | all message will only use message field |
| not supporting variable | support variable |
| delay_req is optional | remove delay_req |
| filename may different than expected | add support for filename field |
| no country code support for replacing first zero | add country code support for replacing first zero |
| small typo may lead to failed sending message | better typo handling for easier sending message |
| cannot send button, template and list | support send button, template, list |
read more : API send message
move url from https://md.fonnte.com/api/profile.php to https://api.fonnte.com/device
read more : API device profile
move url from https://md.fonnte.com/api/connect.php to https://api.fonnte.com/qr
read more : API get QR
This API will validate whether the number is exist on whatsapp or not
read more : API validate
move url form https://md.fonnte.com/api/status.php to https://api.fonnte.com/status
read more : API message status
move url from https://md.fonnte.com/api/disconnect.php to https://api.fonnte.com/disconnect
read more : API disconnect
Go to device menu and then click connect.
Wait until qr code show, then scan it like scanning qr code on whatsapp web.
Open whatsapp app on your phone->go to linked device->scan
This is a big change on fonnte's dashboard.
Many things have changed.
i'll describe what's new on this dashboard
The dashboard itself got a new face after rewrite for fresher look.
You'll see the arrangement and placing of some menus and elements a bit off than before.
Dashboard will now show recent info and tutorials.

Now you got 1k messages quota per month for every device free for development purpose.
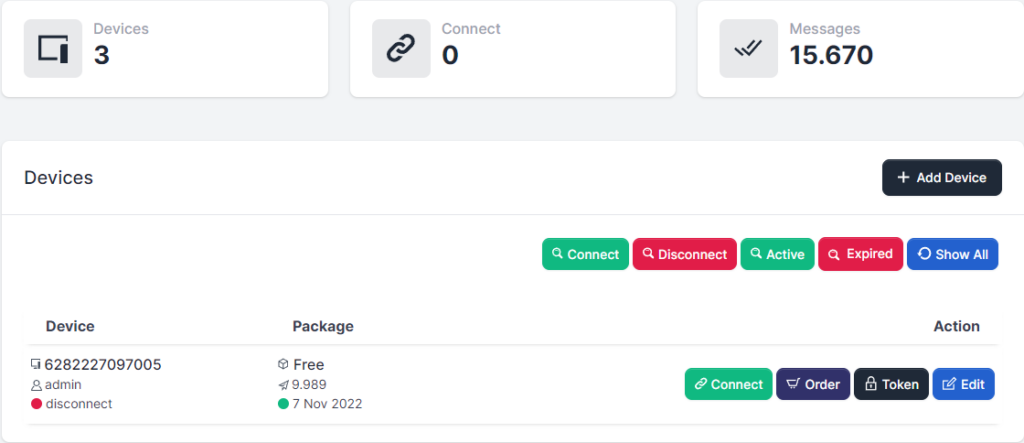
Device is showing total device, connected device and total messages requested by all devices combined
Order menu is no longer exist, order will be available on each device.
One click token to easier copy token
Nothing much change except looks for this menu.
Variable {nama} now changed to {name}.
Now you can add unlimited variable
Message history is now filterable by status and time.
But search is only work for current page.
You can now delete message history if you want.
Resend message is available.
All messaging now combined in this menu.
You can send immediate message/scheduled message/recurring message to manual input target/group of targets/contacts with message of manual input/template with or without file
Nothing much changed.
Variable {nama} now changed to {name} with unlimited variable
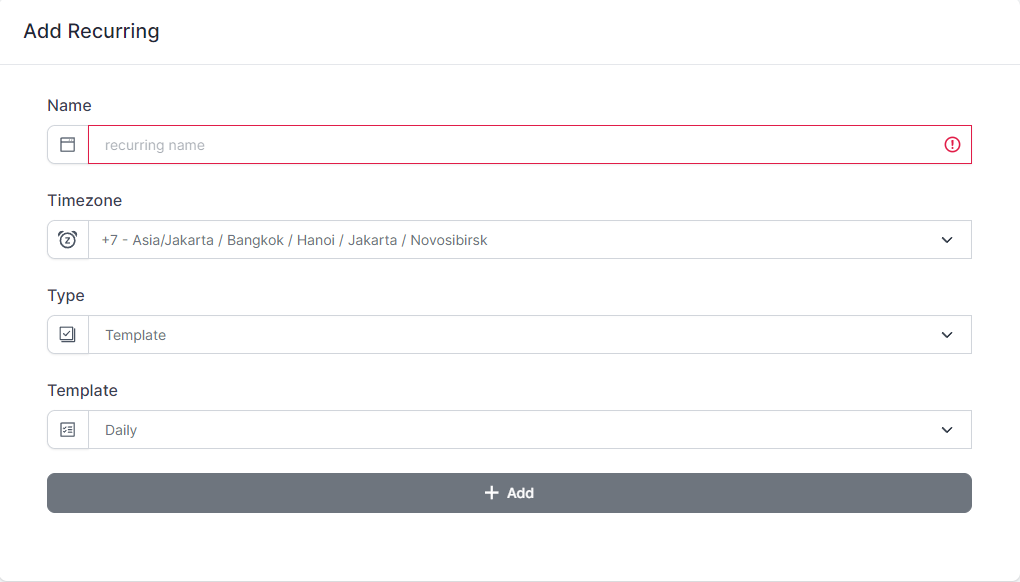
Recurring is now more flexible with timezone.
Sadly, this rewrite also require to rewrite the database relation.
So you have to recreate your recurring template.
Nothing much changed.
Default reply is easier accessible
Invoice is now listed and easily downloadable.
Nothing much changed
You can reach support easier
You can reach documentation easier
There are many changes on our API
Reduce redundant field, changing some fields name and increase performance
You can check the detail on API section
First of all, thank you for your interest in using fonnte to support your business.
I'm not going to waste your time, so every docs will be straight forward.
This is the first thing you have to do : go to device menu then add device.
You'll get 1k messages quota per month for free device.
Then, you can connect your device to fonnte.
That's all for first step.
Go to send menu.
You can send message by filling and match the form fields as you need.
Every message will take 1 message quota, so if you send to 5 targets, your quota will be reduced by 5.
Step 3 and 4 is optional. only needed if you are building chatbot
Go to autoreply.
Make autoreply template and save it.
You may want to create several template to test.
Go to device menu and go to edit device.
Set autoread to on.
I'll repeat, set autoread to on.
Choose personal or group or both to reply the incoming message
just chat your connected device with keyword you make on autoreply, it will reply
Recurring allow you to set period of time to be used when sending message
After creating the template, your template will be shown on template list
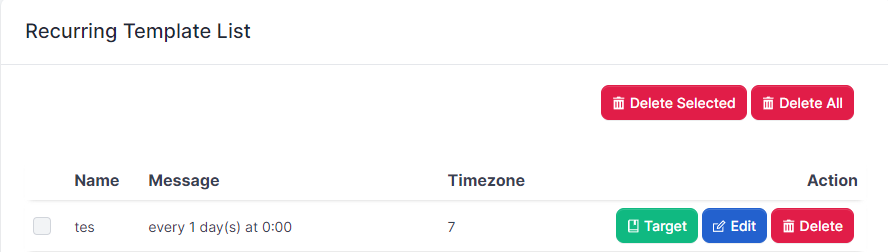
The list contain info for every template you've created.
Target button will show the list of target using this recurring template

To remove target from receiving recurring message, delete the target from the list.
But the last recurring message will still be sent later.
You can delete the last message on history message.
You can add template message to be used for sending message later.
This is a good way to send message to contacts with variable.
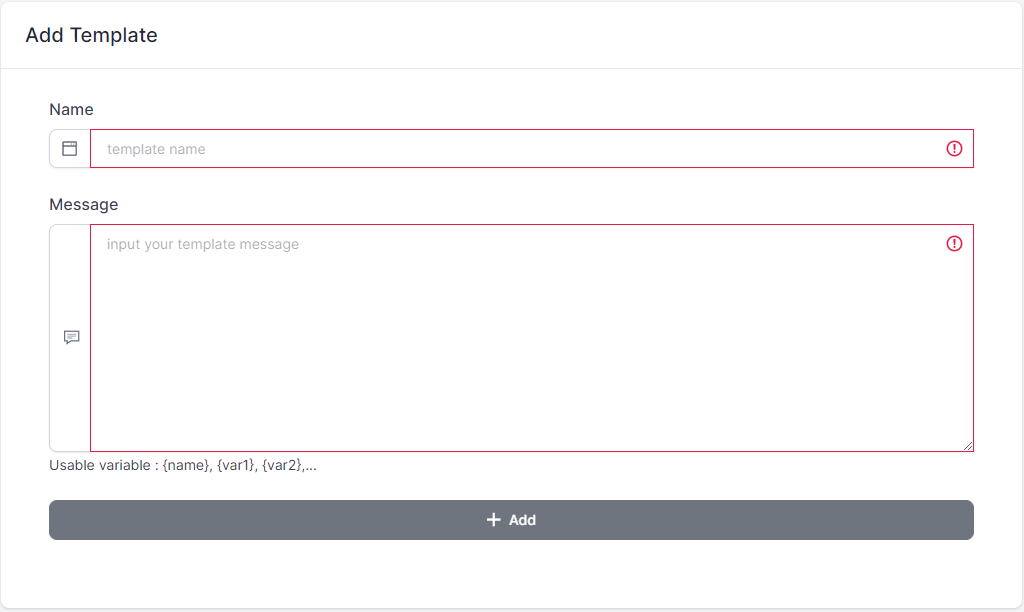
You can create template by filling name of the template and the message.
Using variable is recommended
You can download the attachment sent to your device using webhook.
This function will only working on device with all feature package.
Special note : any autoreply feature won't work if you are using webhook.
<?php
header('Content-Type: application/json; charset=utf-8');

$json = file_get_contents('php://input');
$data = json_decode($json, true);
$device = $data['device'];
$sender = $data['sender'];
$message = $data['message'];
$text= $data['text']; //button text
$member= $data['member']; //group member who send the message
$name = $data['name'];
$location = $data['location'];
//data below will only received by device with all feature package
//start
$url =  $data['url'];
$filename =  $data['filename'];
$extension=  $data['extension'];
//save the file
if($url){
file_put_contents("fonnte-file.$extension", file_get_contents($url));
}
//end
If your attachment have message with it, you can find it in the $message.
The attachment will be downloaded and saved in the same path as your webhook url.
To save somewhere else, determine the path where the attachment should be saved.
Note: The attachment will follow file limitation rules. if you are receiving an attachment outside file limitation rules, you will not receive it on your webhook.
Send messages later according to schedule. here how to send messages.
The only difference with sending messages is that messages take a certain amount of time to execute.
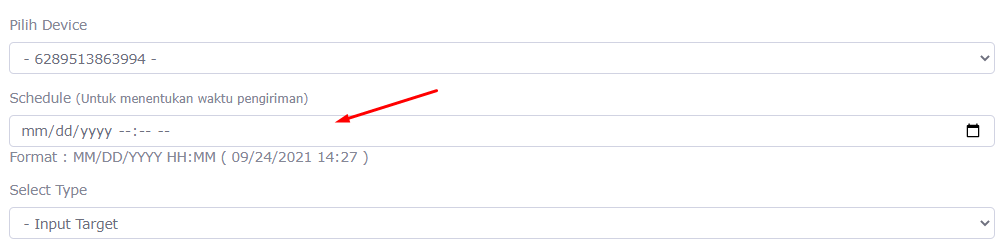
You can only set future times.
time is set at GMT+7.
Is located in the top right and used to manage your name, WhatsApp number for notification (not necessarily to connect), and your password.
Every system notification (device disconnect, quota limit, any information about fonnte's services) will be sent to this number.
You can create a bot using this menu.
When a user texts your connected device, your connected device will reply as the rule you made.
Note: you have to set auto read to On on the device you wish on. (see menu device->edit)
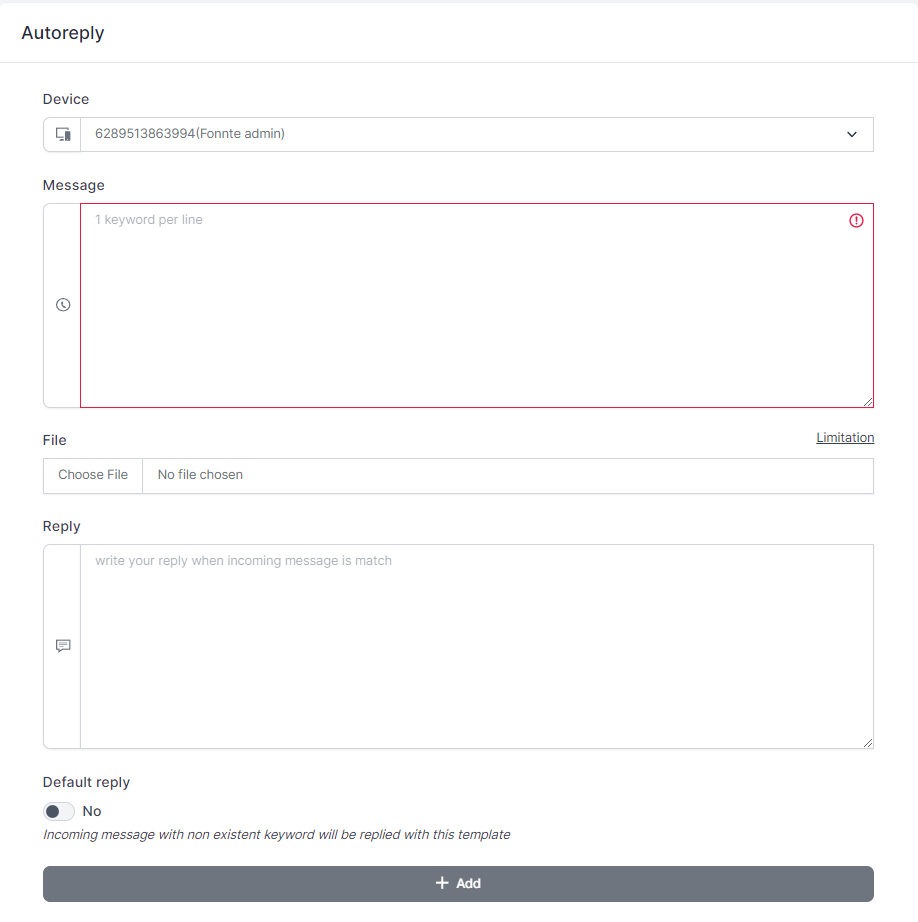
There are several inputs to fill
After you create autoreply template, your template will be added to autoreply list.
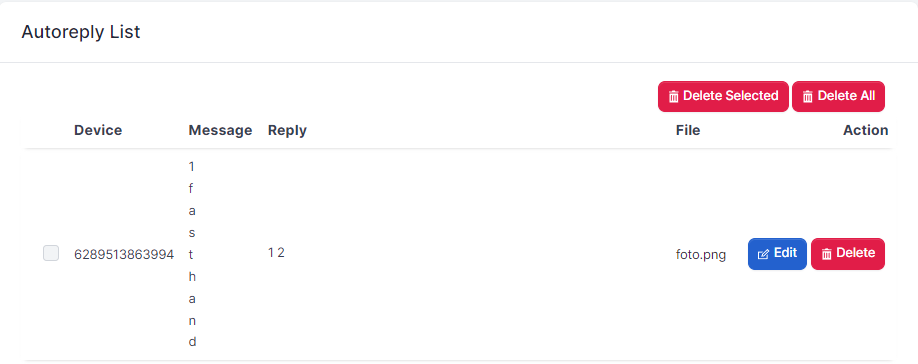
You can edit or delete any of autoreply message template you've created.